NORTH SAILS BLOG
All
Events
Guides
News
People
Podcast
Sustainability
Tech & Innovation
Travel & Adventure
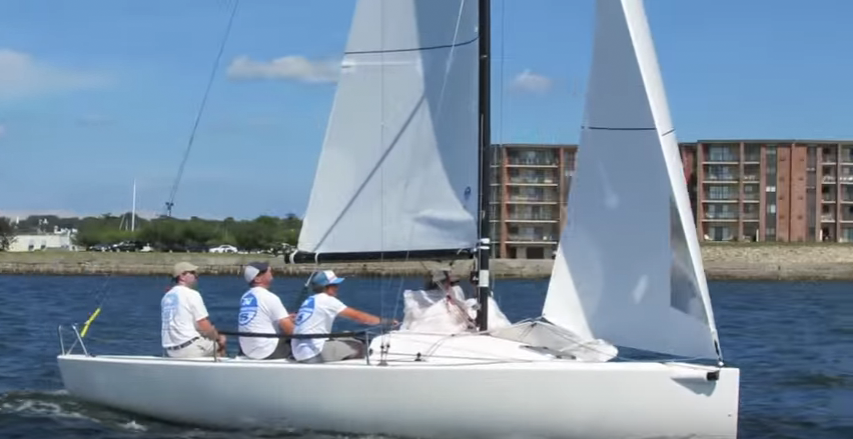
VIDEO: J/70 BOAT HANDLING WITH TIM HEALY
BASIC J/70 BOAT HANDLING WITH TIM HEALY
Spinnaker Set Up
Spinnaker Take Down
Tack and Gybe
Get in touch with Tim Healy if you have questions.
READ MORE
READ MORE
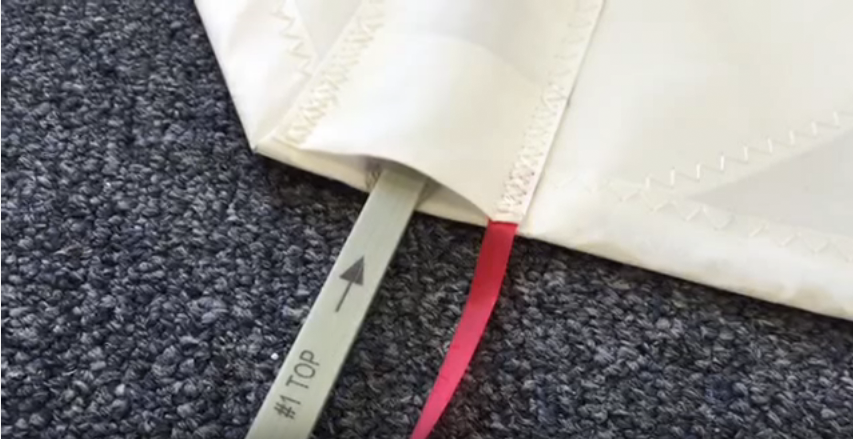
VIDEO: HOW TO TENSION FULL LENGTH BATTENS
TENSIONING FULL LENGTH BATTENS
How to properly tension full length battens using the “rocket” batten ends
The “rocket” comes standard on North Sails mainsails for the following classes: J/70, Etchells, Viper 640, Melges 24, International 14, International Canoe and F-18.
READ MORE
READ MORE

WHEN ARE WRINKLES FAST?
WHEN ARE WRINKLES FAST?
Optimist Sail Designer Mike Marshall’s Guide to Identify the “Fast” Wrinkles from the “Slow” ones
When you look at your sail on the water, your eyes are usually drawn to any imperfections. Sometimes these are in the sail’s shape, but other times there are wrinkles in the sail. As air tries to flow over wrinkles, it becomes disturbed and slows. And if the air can’t travel as fast as possible across a sail, the sail may not be as efficient as it could be, therefore reducing boat speed.
Optimist sails are just as susceptible to wrinkles as any other boat’s sails are. But the good news is that most of the wrinkles that harm a sail’s performance can be removed with fine adjustments to the sail. The key to dealing with wrinkles is learning some basic facts about them, especially what causes the different kinds of wrinkles that may occur.
In most cases, wrinkles that you want to get rid of tend to expand from a source and form a line, which means that they will often point to their cause. For example, in an Opti sail it’s common to get wrinkles near the sail’s luff. In the photo below, you can see such wrinkles spreading away from the luff and along the sail. Notice how these wrinkles seem to be pointing to a specific sail tie. If this sail tie is too tight, it will pull the cloth in that area forward, causing wrinkles to form. When the sail tie is eased, the cloth should relax and the wrinkles smooth out.
The arrow points to the sail tie that is causing a wrinkle to form. Loosening that sail tie by a few millimeters will relax the cloth and make the wrinkle disappear.
It’s also important to know that all wrinkles aren’t necessarily bad. Because an Opti sail must cover a very large range of wind speeds, sometimes the sail will become deformed to fit a certain wind condition, and as a result wrinkles will appear. These wrinkles generally can’t be removed without changing the sail’s shape into a less desirable one. So you can think of these wrinkles as indicators that the shape of the sail is correct for the existing wind condition. For instance, a wrinkle along the sail’s foot that occurs in heavy air is a good indicator that the outhaul is tight enough. Another example is shown in the photo below where the sail has wrinkles perpendicular to the sprit. Such wrinkles may occur in very light air when the sprit is eased to create twist in the sail. The increase in twist allows the sail to be trimmed tighter while keeping the upper leech open, which helps pointing ability. Wrinkles may also occur in heavy air when the sprit is loose. As the sprit is eased, the top of the sail flattens and opens, depowering the sail and making the boat easier to keep flat. In either case, these wrinkles arise because the sail is being manipulated to give it the correct shape for the current winds.
The arrow points to a “good” wrinkle, one that shows the sail is properly adjusted for the wind condition it’s being used in.
So how do you tell the difference between these two types of wrinkles – the “bad” ones that are slowing your boat and the “good” ones that indicate your sail shape is right? A useful rule of thumb is to ask yourself if removing the wrinkle will make the shape of the sail better or worse for the condition you’re sailing in. If the shape will improve, then follow the line of the wrinkle to its source and fix the problem to remove the wrinkle and make the sail perform better. On the other hand, if you think you’ll detract from the shape of the sail by removing the wrinkle, leave the wrinkle in. This wrinkle is there because of the sail shape you’re trying to achieve, so consider it an indicator that the shape is correct. Eliminating this wrinkle would hurt the sail’s performance by making its shape less desirable. Another tip to help identify these “good” kinds of wrinkles is to keep in mind that they generally occur when you’re sailing in extreme conditions, such as very light or very heavy air.
Careful preparation of your sail before you race can help reduce the chances of “bad” wrinkles occurring. This preparation will make your racing less stressful and more fun. And as we all know, having fun is the most important rule of sailing!
WHAT’S THE NORTH DIFFERENCE?
It’s not just a catch phrase.. It’s our way of working.
It’s helping sailors of all ages and skill levels get better.. get smarter… get faster..
It’s our designers and Opti experts attending major events and clinics to get input from sailors, coaches and parents on how we can do things better to make sailing more fun for you.
It’s somewhere you can ask questions and get answers and support..
It’s fast sails, unequaled customer service and a desire to help our clients to GO BEYOND.
Sail with a North sail and see how we can work together to make a difference for you and join with other North Opti sailors from around the world who are seeing the difference sailing with a North Opti sail has made for them.
READ MORE
READ MORE
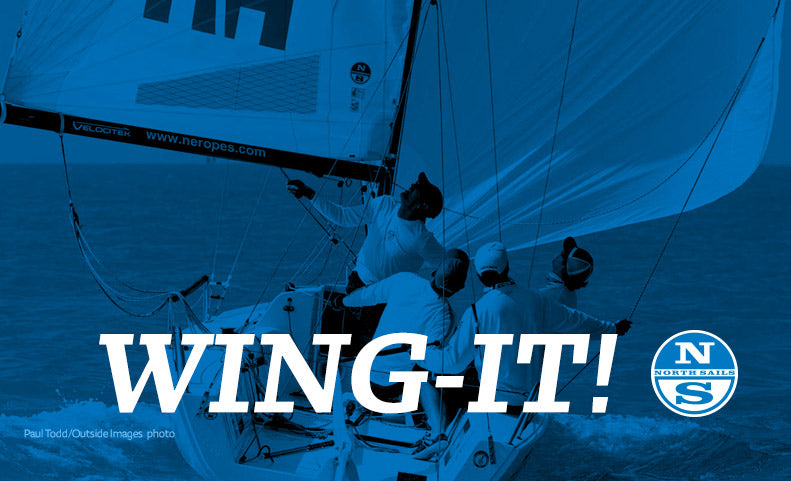
VIDEO: WING-ON-WING DOWNWIND TECHNIQUE
WING-ON-WING WITH TIM HEALY
Downwind Technique
The J/70 class at the 2016 edition of Key West Race Week saw more of the same in addition to a new twist. As in previous years the J/70s had the largest fleet (54 boats) and some of the toughest racing against a very talented group of sailors. What was new this year was how many of those sailors were sailing their boats on the downwind legs.
Sport boats like the J/70, with asymmetrical spinnakers, sail faster at higher angles, but the trend in Key West this year was to sail the boats Wing-on-Wing downwind. At first, the sight of these sport boats attempting to sail straight downwind seems counter-intuitive, but many seemed to be making it work to their advantage. Not really a big surprise that there is something to gain from sailing the straightest course to the mark while other boats in the fleet sail traditionally higher sailing angles and longer distances.
After talking with some of the J/70 sailors in Key West, this new downwind mode has resulted many teams practicing and perfecting the specifics of the Wing-on-Wing trimming and sail handling. However, even with teams practicing, the big question for the boats attempting this unorthodox downwind mode is: When does it work and when is it better to keep this mode in the bag? Wing-on-wing can provide an advantage in certain conditions and situations. If it is used at the wrong time, distance can easily be lost to other boats in the fleet. Our team, having practiced sailing wing-on-wing in a variety of wind conditions and sea states, has decided that the maneuver is something to be used sparingly.
WHEN IS THE BEST TIME TO SAIL WING-ON-WING?
We have found that there are 3 criteria that need to be met in order for Wing-on-Wing to be an effective option. Those criteria are:
1. Wind Speed
The amount of true wind is important because the asymmetrical spinnaker is unstable and difficult to fly when sailing straight downwind. If the wind is too light, the pressure in the spinnaker will not be enough to help it fly away from the boat while on the wing. 9-13 knots of wind seems to be the sweet spot for the wing mode. Basically, enough wind to fly the sail Wing-on-Wing and not yet, windy enough to plane.
2. Boatspeed
Once sailing Wing-on-Wing, boat speed is the test to see if the downwind mode is working or not. Our criterion for boat speed is after changing our mode from VMG towing-on-wing we ask, how much did our speed drop? For the wing mode to be effective, there has to be little or no speed loss relative to the boats sailing the VMG mode. Since Wing-on-Wing is most effective in the same conditions as the normal VMG mode, the speeds while sailing in pressure should be comparable and the gains made are due to sailing the shorter distance(lower angle) downwind.
3. Sailing Lane
Sailing the traditional VMG mode downwind allows a range of sailing angles, like sailing higher in the lulls and lower in the puffs. When sailing Wing-on-Wing, the mode demands a very specific sailing angle in order to fly the sail and it is important to ensure that your sailing lane is clear because changing course can easily collapse the spinnaker. We always have someone watching behind while on the wing to make sure our land and wind is clear and we are able to sail the proper angle while on the wing.
After deciding to switch from VMG mode to Wing-on-Wing, the technique and boat handling can make or break the success of the maneuver. Here some of the boat handling tricks we use to help get to the wing mode, stay Wing-on-Wing and switch back to VMG mode.
Going from VMG to Wing-on-Wing
Transitioning from the normal VMG mode toWing-on-Wing is best achieved by gybing the mainsail and keeping the spinnaker flying on its current side. When the crew is ready, the boat is turned downwind and the main is pulled across to the other side. As the boom crosses the centerline, the boomvang should be pulled tight to help flip the full battens and avoid catching on the backstay. While the main is gybing, one crew member should stand up and briefly hold out the spinnaker sheet in order to keep the clew of the sail from falling in toward the boat.
Angle of Heel
Once the main has been gybed, the boat should be quickly heeled to windward (boom up) about 10-12 degrees. The skipper or other crew member should continue to hold the spinnaker sheet away from the boat while the trimmer maintains the sheet tension. Maintaining windward heel is critical to keeping the clew of the spinnaker away from the boat, especially in the lulls.
Apparent Wind Angle
Along with the proper heel angle, maintaining the most efficient apparent wind angle is also important sailing Wing-on-Wing. We have found that sailing an apparent wind angle of 5-10 degrees higher than straight downwind is the best to keep the spinnaker flying and will maximize boat speed. Sailing too high could cause the sail to collapse and sailing too low will cause the main to shadow the spinnaker decreasing the pressure in the sail.
Back to VMG mode from the Wing
Switching back to VMG mode from Wing-on-Wing can be done by gybing the main or the spinnaker. Gybing the main is the quickest and easiest. Turn the boat into the gybe and like going to wing mode, as the main is crossing the centerline pull the boomvang tight to help it clear and fill on the new side. Rolling during the gybe will also help the boat turn and allow the crew to flatten the boat after the gybe aiding in acceleration. The other option back to VMG mode is to gybe the spinnaker. Simply, boat is heeled to leeward and turned up as the spinnaker is rotated to the new side. To help the spinnaker switch sides, and prevent it from wrapping, the trimmer should start rotating the sail just before the boat is turned.
After all the practice and racing in Key West, totaling around 50 downwind legs, I would say we used Wing-on-Wing mode on about 10-15 legs during the week. Of the legs where wing mode was used by our team, we averaged about 1-2 minutes per attempt and would switch back quickly to VMG when we were not gaining or after we had already consolidated our position on boats near us. Not every attempt we made at Wing-on-Wing worked in our favor, in fact during the event we were learning which situations were working best for our boat. Anytime we felt a loss in either our relative position, or distance on boats around us, we noted the reasons why the mode was less productive. Normally, our Wing-on-Wing losses were due to one or both of two factors…
1. Not Enough Wind
Because of a drop in pressure or being blanketed by another boat.
2. Bad Lane
Forcing us to change our apparent wind angle outside the optimum for the wing mode.
In the end, our team will be practicing ourWing-on-Wing mode more often to help ourselves and others better understand when to (and not to) use it on our way to the finish line.
North Sails One Design is proud of our continued commitment to developing the fastest sails and providing the best personal service and support for J/70 sailors. The proven performance along with our team of J/70 experts to help you to GO BEYOND is unmatched. Let us know if you need any assistance with sails or getting ready for your next regatta.
READ MORE
READ MORE
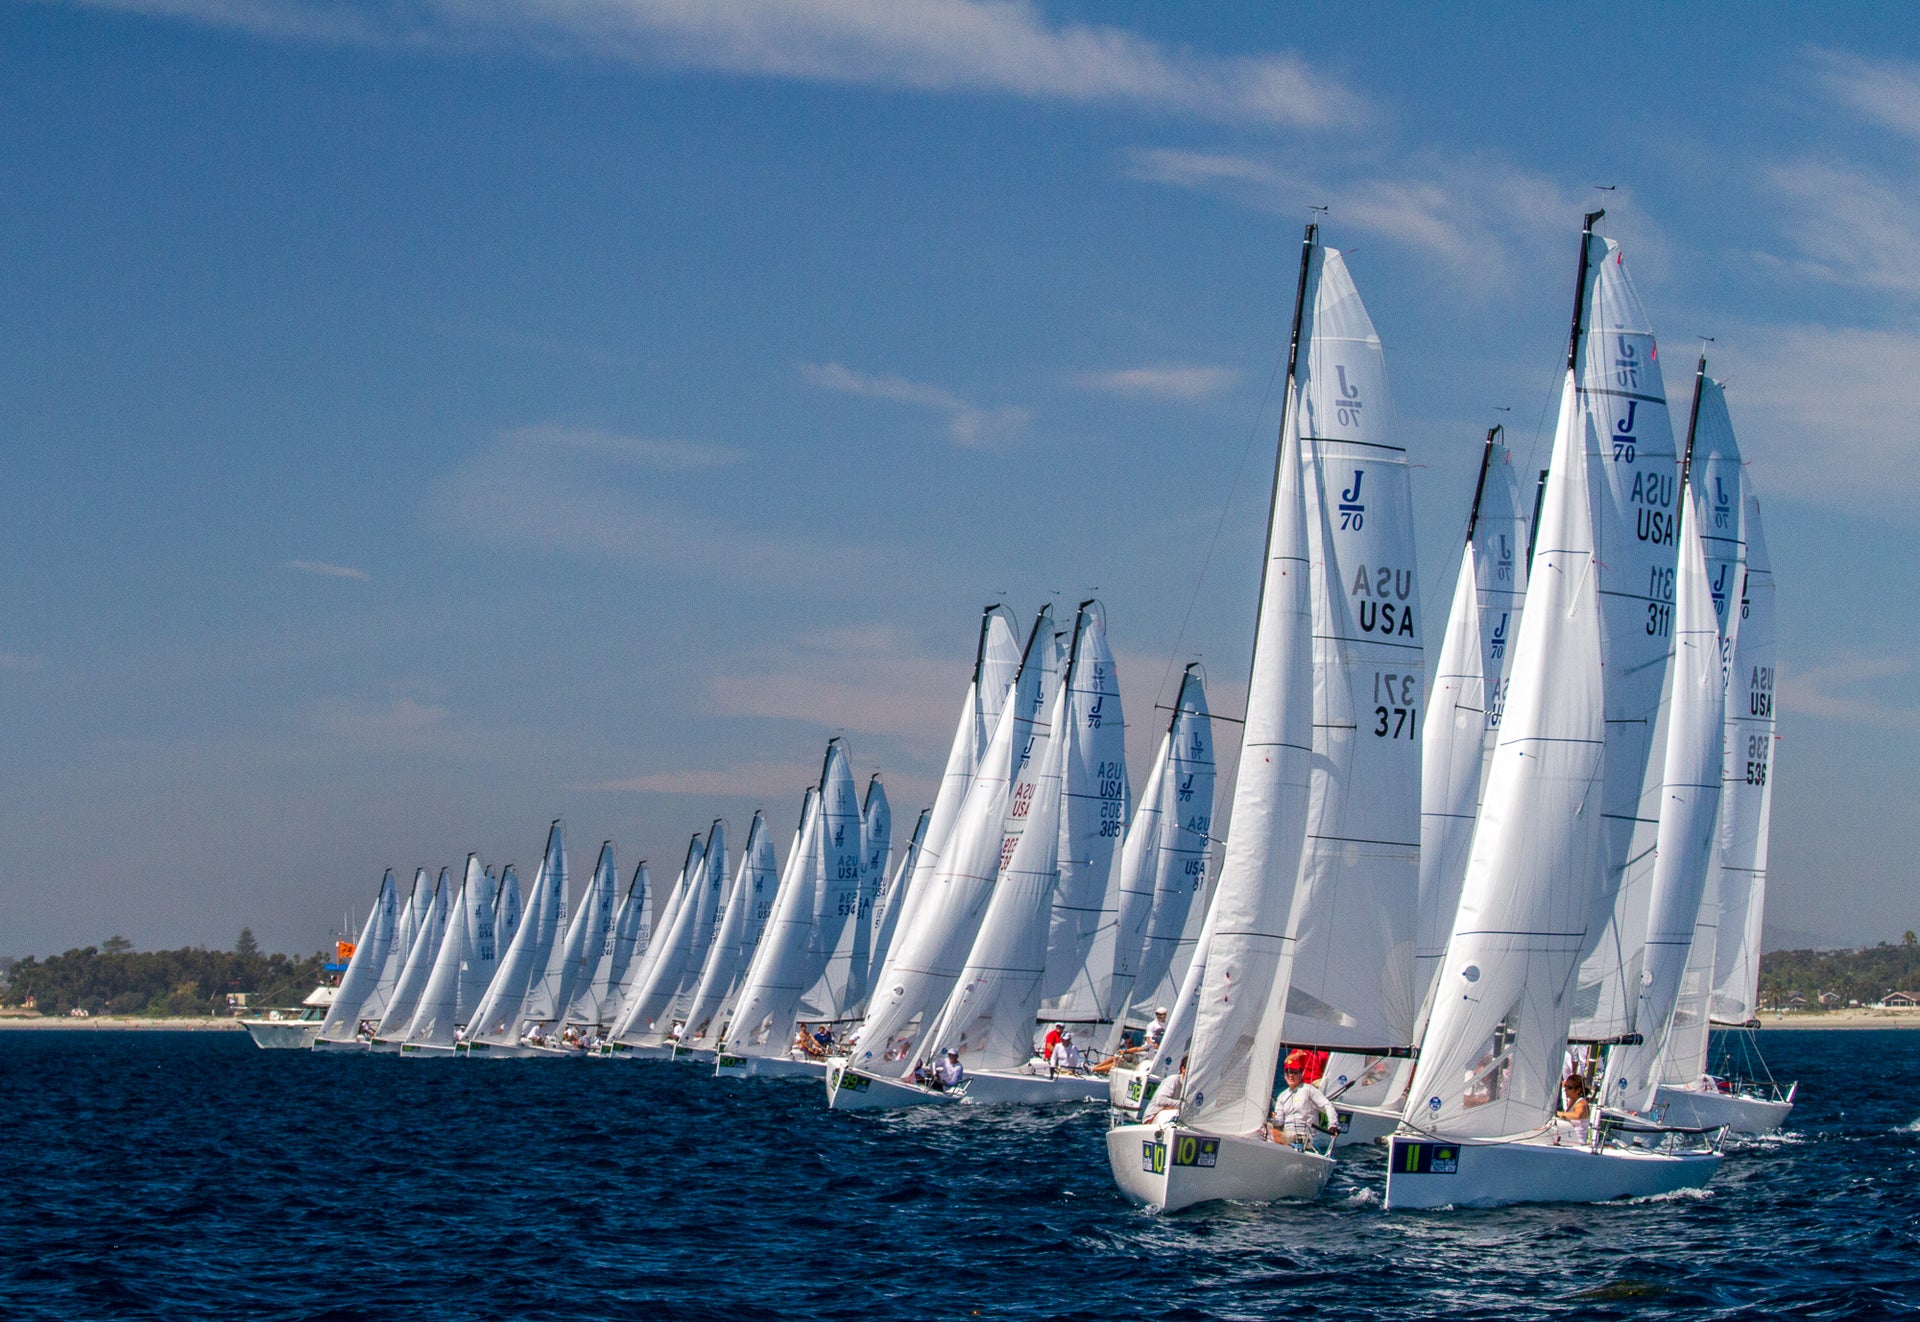
NEW TO THE J/70? 10 TIPS TO GET YOU UP TO SPEED
NEW TO THE J/70?
Ten tips to get you up-to-speed
“Before the 2015 J/70 North Americans I had crewed on the J/70 for a couple of years and thought I knew it pretty well. Steering is different (not harder) that crewing. We finished fifth overall which was a good start. Here are ten things I learned from this experience that will help you in almost any boat”. – Chris Snow
10 Tips:
Have clear consistent marks on your jibs sheets, both windward and leeward
You must have marks on the deck and clear marks on the sheets as reference points to duplicate fast trim setting on both tacks.
Do not steer the boat—rather steer as little as possible
Any small boat slows when the tiller is moved. I purposely held the tiller extension on my thigh upwind to minimize movement. Do your best to steer with crew weight-this applies to any boat.
The spinnaker trimmer steers the boat downwind
Be sure the spinnaker trimmer is constantly talking about pressure in the sheet downwind and telling you when to come up and down to optimize your angle downwind. She/he can feel that 100% better than you, the helmsman, can.
Check for weeds constantly.
In San Diego we had lots of weed and kelp. There is nothing slower than having weed or kelp on your rudder or keel. Keep a constant lookout and visually check if you have any doubts.
Have a tuning matrix and follow it.
Check your sailmakers tuning guide for rig tensions at different wind speeds. Make a chart of turns needed on your boat to get from one to the other. Follow it and set the rig back to base each time you return to the dock. This eliminates variables and second guessing and lets you concentrate on the race.
Sail the boat at a constant angle of heel upwind.
Very important to keep the boat at a constant angle of heel upwind. Use the head stay against the horizon as a guide. If you cannot hold the boat on a constant angle of heel the boat is either underpowered or overpowered. Decide which and adjust.
As helmsman downwind, help the crew with what is happening with the shifts downwind.
It is hard for the crew to know whether or not you are getting lifted or headed downwind (upwind it is easy) helmsman should keep an eye on the compass downwind and communicate to the crew what he/she is seeing.
On the J/70 learn to sail wing and wing easily.
Practice how much you need to turn the boat downwind to go to wing and wing and what conditions is works in (flat water, moderate winds). This is a tool that can come in very handy if you have it available but it takes some practice so as not to be too disruptive.
Trust your Velociteck!
This little wonder tells you how far from the line you are. Get good “pings” on both ends (be sure the line is set first) and trust it. I found it very helpful to have one of the crew calling time and another calling distance to the line converted to boat lengths (the unit displays in meters). You can use it to help you know when to accelerate for the line. See tips on how to get more from the Velocitek
Sail the boat like a dinghy.
All smaller one designs benefit from being sailed like an even smaller boat. Use your crew weight always to steer, move forward and aft depending on wind and sea state. Get good at roll tacking and jibing in lighter air. Heel the boat to leeward to round the leeward mark, etc… All boats will benefit from this.
More questions? Contact Chris Snow.
READ MORE
READ MORE
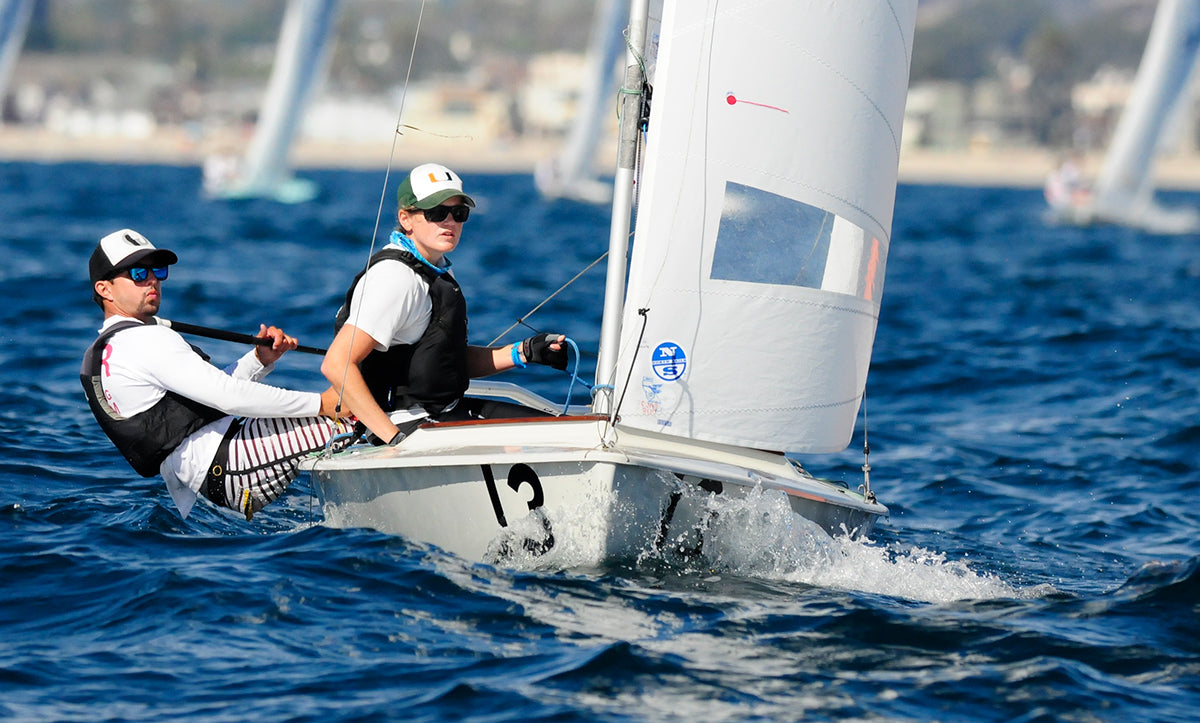
VIDEO: SNIPE TIPS WITH RAUL RIOS
SNIPE TIPS FROM RAUL RIOS
Video-interview after winning the 2015 Nationals at Mission Bay Yacht Club
TUNING NUMBERS:
PREPARATION:
COMMUNICATION CREW-SKIPPER:
NORTH SAILS:
READ MORE
READ MORE
J/24 FAQS
J/24 FAQs
A compilation of questions and answers we have received over the years.
What’s the recommended tension for the backstay?
With regards to the backstay, we think that having it off to measure would make it easier to get a method where all boats could be tuned the same.
With that in mind we suggest (this is in the tuning guide) that the tension on the backstay bridle always be adjusted so the blocks sit about 8″ below the triangle that joins everything together.. So each time you tighten or loosen the shrouds for a change in wind velocity you will need to do the same for the backstay bridle.
Can you give me some hints on how to go faster on a J/24?
It is really important to sail at max weight 882 lbs. In anything above 10 kts, that extra weight is noticeable in terms of upwind performance. At the top of the fleet, we try really hard to make sure we are max crew weight.
Changing gears in the J/24 is huge! The skipper has a lot on his plate. The top guys make the skipper responsible for the backstay, traveler, mainsheet, genoa trim and steering the boat. Let me try to explain how this works. A nice steady breeze makes it a lot easier obviously. In the steady breeze you can kind of get things set up and just rumble. In a puffy breeze, there is a constant adjustment of the controls.
You want to start by getting your boom at centerline. You accomplish this with mainsheet tension and traveler. The mainsheet tension controls the amount of twist in the sail and leech tension. In light air or light spots, you want twist (and the top leech tell tale flying) so softer mainsheet tension and a higher traveler to keep boom at centerline. A twisty main is also good for accelerating or for bow down modes. You want nice twist in your main after a tack to help the boat get back up to speed quickly. In medium breeze, you want a tighter mainsheet to close the leech a little for better pointing. You have to ease traveler down to keep boom at centerline if you pull on mainsheet tension. The only time you let the boom go below centerline and go traveler down is when you really need to de-power and keep the boat flat. Even before a lot of traveler down, I am usually putting on some backstay to de-power.
The backstay has a few rules of thumb. Take some off for more power and pull some on to de-power. If your main starts to invert and flog, you should ease some backstay to get flow over the sails going again. Backstay is more of a macro adjustment unless it is really puffy, then you are constantly easing it off in the light spots. Also, if you are ever overstood in breeze and need to crack off, put lots of backstay on. If you need to point higher in a short distance like if you understood the windward mark, take backstay off.
The genoa trimming by the skipper is key. Basically the skipper sits right next to the winch that has a winch handle in place. In a puff the trimmer, who is hiking out all the way, will ease the genoa in anticipation of the puff, not letting the boat heal over (we’re talking like a foot or more of ease at times), and then the skipper winds the winch handle to crank the sail back in before the boat heals to windward. This takes some practice, but once you get it, it’s huge. Never let the boat heal to leeward. Anytime the boat is healing it is sliding sideways a lot faster than you think. When a 30 knot puff hits, you actually have better VMG if your boat stops dead in the water and remains flat, than if you heal over, go forward but slide sideways. The boat that stopped dead in the water will actually be closer to the windward mark after the exchange.
How often do we get new sails? The Genoa obviously takes the biggest beating. After only a couple heavy air regattas you will be able to notice a performance difference between a new and used sail. It’s not only the beating the sail takes against the mast in tacks, but also the crew stuffing it up on the bow during downwind sailing. You might not like to hear this but we make sure we have a new Genoa for every big event.
What do I do when a puff huts?
Puff hits…crew eases genoa, skipper eases traveler.
Puff begins to ease up,skipper pulls traveler back up, cleats it. Then moves quickly to the winch handle and cranks in the genoa.
Repeat the above sequence with each new puff.
There are different variations of this depending on-strength of the puffs. If the puffs are very strong…vang sheeting-becomes a little more effective. A super tight vang and using the process above, but instead of easing traveler down, you’re easing mainsheet.
The backstay should be set as close to a happy-medium as possible, but every now and then it should be adjusted based on the overall trend of the breeze. I like to have it eased in the light spots as much as possible, as long as you can get enough back on before the next big puff hits.
It would be nice to have three hands. Trust me it is not easy…it takes a lot of practice.
I’ve been told J/24’s roll tack easy enough. Using techniques I adapted from dingy racing and a basic knowledge of hydrodynamics, I tested this theory and couldn’t get it to roll over. Is there a better technique for fixed keels that i don’t know about?
Roll facing out and push down on the windward life line. Start from the middle of the boat and do it all together. With four people rolling you should be able to get the windward rail all the way down to the water, once it is flatten the boat slowly and you will get a nice squirt forward.
What is your opinion about having multi color sails. I read somewhere that it was better to have one color due to the stretch in the panels over time. Is this a big issue?
We highly suggest having the head and clews of the sail each a solid color. Also I would try to have these areas lighter colored if possible. This way the top and bottom of the sail is made from the same lot of cloth and it will stretch relatively evenly over the life of the sail. Also making the sail with lighter cloth in the top and bottom will insure that you are getting a sail made with Grade A woven cloth. With darker colors flaws can be hidden and even though all the cloth is tested by the maker and us this generally seems a safer bet.
The tuning guides tell me about which ring to fly the pole from but as the wind builds I find that the floating tack sometimes wants to fly quite high. The question is, once you have got the pole to horizontal, do you keep raising the pole to keep the kite level or do you use the barber hauler (twinning lines) to keep the floating tack down to the pole tack. Does water conditions affect your thinking on this?
Generally the J/24 likes the pole on the low side so while we try to keep the clews level we also work on keeping the pole end a little lower than the free flying end. We generally twing the pole side down enough that the pole will sit right up at the tack of the spinnaker at all times.
Generally do not use the leeward twing on a J/24. The boom acts as plently of a twing when needed.
When to move the mast butt position?
There is no real reason to have to change the mast butt position once you find the proper location. Here we use a Loos Model B tension gauge and with the lowers on 21 and the uppers on 24 we measure the headstay tension with the backstay completely disconnected. The headstay will be loose and the tip of the gauge should be about 30 mm from the headstay if you have everything set up right. You will also have about 3 to 4 cm of prebend at this point. The only time I have seen adjusting the butt while racing work is when it is really blowing hard (25 knots plus) and then moving it forward just a bit MIGHT help.
How to ease and trim the main and jib together smoothly? Well..easing isn’t hard but since I grind the winch for the jib/genoa and pull in the main they don’t come in together, it’s always one or the other first. Both together is obviously better but I’m not sure how to do it. Do you have the cockpit guy grind in the jib himself and only worry about the main when both are eased or do I just try to do both myself. How do you do it?
You are talking about when you are cross sheeting the genoa and jib. Basically I think the best thing to do is if you just ease the jib a inch or two, you need to grind the sail back in a keep the cockpit guy hiking out.
Yes the sail will not be trimmed in exactly the same but I think this is less disruptive. If you have the ease the jib a lot (like when ducking) have the cockpit guy turn around and grind and tail the sheet him/herself. This way you can concentrate on the mainsail.
The balance between the two sails on a boat like a J with the a small keel is important. Keep playing the sails in concert with one another.
How can I get my J/24 to point higher?
Generally the reason a J/24 does not point (or sail as close to the wind as the boats around it is because the boat is not developing enough weather helm. The boat needs a small amount of weather helm to be able to always sail as close to the wind as possible.
The first thing to do is to recheck your boat against the tuning guide to make sure you have followed everything correctly. If this is so then I like to go out sailing with the rig tuned properly for the wind and take a close look at the mainsail set up. Usually what you will find in these cases is that the lower part of the main to too flat relative to the top of the sail. In general the sail should have a nice smooth shape from top to bottom, often in cases where the boat is not pointing well the bottom of the main will be very flat right off of the mast indicating that we need to move the mast butt forward. Start by moving it ¼” and see if that makes a difference, it should make the lower part of the mast a lot straighter and give you more helm and height!
My J/24 sails nice and high but I can’t get it to go as fast as the other boats through the water. What can I do?
You basically have the opposite problem of the folks in the question above. There are times in race where tactically you want to ” put the bow down” and just go fast regardless of height. If your boat won’t do this you are handicapped a bit. The problem is that your lower mast is too straight which makes the main too full and causes you too develop an excess amount of weather helm. Every time you try to sail the boat low and fast the boat heels too much and develops more weather helm. Move the mast butt back ¼” to put in more lower bend, recheck your shroud tensions and you should be all set.
Should I use the upper or lower ring on the mast for the spinnaker pole?
With the Slant Nose+ spinnaker we use the lower ring until about 15 knots of wind. For the FR-2 spinnaker use the lower ring until about 10 knots.
When I sail in heavy air with the jib I can’t get the jib halyard tight enough to remove all the wrinkles in the luff of the sail?
Above 20 knots you want the luff of the class jib smooth with no wrinkles. To get the halyard tight enough sail downwind before the start with the backstay off and have two crew pull up the halyard. This should get it tight enough. Be sure to get the jib up BEFORE you tighten the backstay at the leeward mark.
How important is the J/24 spreader angle adjustment? This seems to be hard to get right.
The spreader angle is hard to get right but it is worth the effort. The spreader angle affects how “stiff” the mast will be in the boat. Angle the spreaders forward and the mast gets stiffer, sweep back and the mast gets more flexible. This is important because as we tighten the backstay we need a certain amount of stiffness in the mast so the headstay will get tighter and flatten the genoa as the breeze builds.
If you have a older mast with “male” stainless steel fittings coming off the mast we suggest either retrofitting to a thrubar set up or using the Allis Racing style spreader adjusters. With a newer mast you may need to bend your thru bar to get the right angle (see your local machine shop).
Have a Question? Ask the J/24 Experts
READ MORE
READ MORE
HOW TO PREPARE FOR A BIG J/24 REGATTA
HOW TO PREPARE FOR A BIG J/24 REGATTA
A Basic Check List
A basic check list that the North Sails J/24 team and two-time World Champion Will Welles uses when preparing for a big J/24 regatta.
Let’s start at the top…first you need a boat!
BOAT PREPARATION
Hull
Proper keel shape
Keel max forward
Keel max depth
Faired: keel, rudder and bottom
Rudder hung at minimum depth
Plumb boat to make sure keel, mast, mast step, mast partner, chain plates, jib and genoa tracks are symmetrical.
Wet sand and buff hull, bottom and foils prior to event.
Equipment
Sails! (Try to show up at the event with fresh sails)
Proper deck layout with upgraded fittings (make sure your gear isn’t going to break at the event!)
Newer Anodized Mast (if you have an old mast, don’t let this keep you from competing!)
Thru bar and spreader sweep set at 160 to 165 mm (tight fit!!)
Check over your boom for wear and make sure the outhaul is updated.
A good working spinnaker pole with ends that work properly. (Tapered pole at class minimum weight is nice.)
Check shrouds, backstay and head stay terminals for corrosion.
Newer halyards
Newer running rigging
Proper tiller and tiller extension that won’t break in a breeze.
Check all clevis pins, ring dings, bolts, screws etc…
NOTES:
Try to show up at the event with some time on the halyards and running rigging..this way the splices have had a chance to settle in and the sheets to wear so they’re not soapy and slippery.
We recommend a shackle on the main halyard, Genoa/Jib halyard and topping lift. None needed on the spinnaker halyard…tie a bowline!
Think about bringing a spare tiller extension and spinnaker pole as part of your optional equipment.
Measure
Your boat will be fully measured at the Worlds, we strongly suggest if the boat hasn’t been measured before you should get your local measurer to check the boat over. The last thing you want to deal with at the event is needing to change something in the parking lot…no matter how big or small a job it is! **Leave plenty of time for this so act now!
Here are some things that they will measure:
Builders weight
Keel measurements
Rudder measurements
Spin pole length and weight
Boom tip weight
Black bands on mast and boom
Mast height
Forestay length
Lifeline deflection and tension
J dimension
Sails
Transport
Proper tow vehicle
Serviced trailer
Working running lights
Proper padding for your mast, boat etc..
Proper ratchet tie down straps
Spare tire
Tire iron
Proper jack (probably not your car jack if you can help it)
I like to take a can or two of “fix a flat”
North Sails travel covers!
Paperwork
Class membership/ Sticker
Depending on the type of the event, you will have to be a class member to sail class sanctioned events. Registration is yearly for $65 or you can sign up for 2 years for $125. Register online.. You will receive your class card and a yearly sticker that needs to be on the stern of your boat.
Measurement Cert (required for the Worlds)
You need a valid measurement certificate.
Measurement form
Change of ownership form
Note that the all up dry weight + optional equipment is 1330Kg now, that is less than it used to be so you may have to re-weight.
One trick we use is that we write the weights of everything on each piece of equipment with a sharpie. That helps a lot!
Note that the optional and required equipment list needs to be filled out. Make sure you have it on the boat in case you are inspected.
Tuning
SAILS
Make sure you have a practice set a and a “Game Day” set of sails.
Do a couple of test runs on the new sails though to make proper marks on the boat
A basic sail repair kit is mandatory, this should include: tell tales, 4” sticky back-fixes all sails, hand stitching items with palm and small can of McLube.
Mclubing the tell tales on the genoa as well as the leech area hitting the mast is helpful.
If the weather gets down below 40 degrees, bring the spinnaker home to prevent seams from becoming unglued.
If it is really windy out: put Dacron tape over the mainsail battens to prevent from flying out.
MAST
Straight mast in boat over keel
No bends, etc…
Polish before hoisting
Inspect all fitting, bolts, ring dings, etc…
Install Teflon Tape at the spreader tips, bottom 2 meters of the upper shrouds and the front of the mast where the clew hits during tacks.
Mark all shrouds so they always go back into the same side of the mast to ensure a good tuning matrix.
Defer back to Equipment Section for more overlapping ideas.
SHROUDS
Look for rust in the swedge fittings on all shrouds, replace when needed.
At the beginning of the event (during the practice days), it is good to wind the rig up hard overnight to stretch the shrouds out, helping to settle in.
Always have a fast way to tune the rig: two adjustable wrenches tied together, turnbuckle handles, and proper screw driver, etc… make sure the system is in place.
CHARTS
Rig Matrix is a must have, written down in a water proof book on board at all times.
This is accomplished up on land or at the dock at the beginning of the event, checking throughout the regatta.
Nautical charts of the area are very helpful.
Tide charts of the area are key as well.
Team
SKILLS
There are 5 pretty defined roles on the boat, Bow, mast/twing, middle/tactician, cockpit/trim and helm. One of the cool things about the J24 is it really is a team boat, you’re as good as your weakest link and it is hard to win unless you have a team that understands these roles.
PERSONALITY
Let’s face it you spend a lot of time with your team, and the worlds is a solid week of on the boat, in the car and sharing housing. It is important to get along with your team and most importantly enjoy their company and have fun!
Fill your team with solid sailors. It is important that they understand each role on the boat; this really helps the team run like a fine tuned machine.
It is always nice if you have some crew that understands boat work, rigging, and general sail repair is good too!
There is always a ton of items to get the boat to the regatta and back again, it’s nice to have team members that are willing to pitch in and take on certain tasks, this makes it a team effort and doesn’t put the sole burden on one person. Left for one person it can be a big task and takes a lot of the fun out of the regatta.Know your crews strengths. Try to divide jobs/tasks up to members based on this. Don’t assign the best chief on the team the boat work tasks or vice versa…..you’re liable to end up eating sawdust sandos or worse!
Try to tackle the big tough jobs (like polishing the bottom with Teflon) as a team, it goes faster too!
SIZE
The max crew weight is 882lbs. We suggest sailing right at weight. Typically a team will have a set driver, trimmer, tactician and bow. Then crews tend to round out the weight with the mast position. The simple answer is, build around your key members and sail at max weight!
Logistics
Logistics are number one in our book! Some folks fly by the seat of their pants on this but it’s always a little less stressful to have things planned out well in advance!
HOUSING
Stay in a place where everyone has a bed, the days are long at any regatta and this is a week of straight sailing!
Try to stay as close to the regatta site as possible, walking distance in nice if you can swing it!
FOOD
We suggest to bring a simple snack on the boat, energy bars, peanut butter and Jelly sandwiches, diet coke, and lots of water!
Eat a good breakfast and lunch too!
SHIPPING
If you are shipping your boat to the event, remember: You can’t ship a boat last minute. Find a good shipping broker that you trust and hold on!
There are plenty of good charter boats in the states so please let us know if you need any help locating one.
You may bring some of your favorite Genoa blocks, sheets, tiller, spare parts or whatever, make sure you check your airline’s weight restrictions and bear in mind there are many good places here in the states to get items if you need them!
Sails, you may choose to fly with your sails, check the airline box restrictions and get the appropriate box. This will save you lots of extra $$ and if you’d prefer, let one of the North Sails One Design J24 gurus know and we will bring you a set in the van delivered at the event!
TRAILERING
Make sure you service your trailer, check the lights, brakes, etc…
Make sure you have proper padding for your trailer keel, pads, mast, rudder, etc…
Make sure to have proper tie down straps.
You will want a proper spare tire, lug wrench, jack, jumper cables, can of “fix a flat”, you get the picture!
Practice – Well, practice is key!
TUNE
You want to find a good tuning partner that is as fast or faster and wants to get the same things out of the tuning…has the same goals etc….Is willing to put the same amount of time towards the tuning and to share the data found openly between the two boats. The goal should be to make both boats fast and not just one!
Think about hiring a coach to help, a good coach can help with drills but also with the rig and sail set up. A good coach is always money well spent!
BOAT HANDLING
Boat handling is what it’s all about! If you think about it the corners are the one time in every race that you can pass boats quickly! Of course wind shifts and things too but those don’t always happen in every race…most times you are rounding a mark at least one time in a race!
Set a windward mark and a leeward mark. Start with them spread apart so you have plenty of time to get the kite up and then jibe a few times and round the bottom mark. Go around and around until you’re so tired you can’t do another lap! Take a break from time to time and move the marks closer and closer so at some point they’re so close you barley have enough time to get the spin up and then back down before rounding the marks…this will expose any weakness in your boat handling quite quickly! Then stop and break the items down and start over. The goal is to grow as a team and by the end be the best boat handling team on the course!
The other item that works well is some match racing with your tuning partner. We do this all the time, you’ll need three marks for this.
Racing
Go to as many regattas as you can leading up to the Worlds! What this will give you is confidence getting off the starting line and show you how you line up with some other teams.
THE EVENT
Check in
Make sure to have all your documents ready to go. Insurance, crew waivers, entry fees, class membership card, US sailing card (or the like) etc….you get the idea!
Remember, all of the people at check in are volunteering their time so please be nice to them!
Measurement
Your boat will go through the complete measurement process at the Worlds. Boat weighing, keel and rudder measurements, mast measurements, sail measurements, Equipment list, etc… I’d suggest trying to confirm these items before you show up at the event. You will still need to get all the measurements done again at the regatta but you may expose any potential problems prior to showing up at the worlds which will be less stressful to deal with ahead of time!
I’d suggest going through your required and optional equipment list and confirm the weights of things. Write the weight on the items so to save time later weighing the items. They should have a scale at the event for you to use as well but I strongly suggest showing up ready to go!
Most events have measurement sign up for all these stations, sails, crew weight, boat weighing, mast and boom etc….make sure you are proactive and get yourself on the list!
The more prepared you are ahead of time the less time you will have to spend at the event on these items to get passed in measurement. This way you can spend more time on the water!
Take some tools and spare parts…some etc. lead etc…all the scales seem to weigh differently, try and have items to fix and potential problems without having to run to West marine 20 times!
Have your rule book on hand just to clarify any items that may come up.
Docking
Bring tons of fenders and long dock lines.
Find out if the boats will be on the dock or on a mooring. Sometimes having a dock box is nice to store extra gear, tools, fuel etc…Dehumidifier is nice too!
Cleaning the Bottom
Bring a mask and a wetsuit to clean the bottom of your boat each morning!
SAILING A WORLD CHAMPIONSHIP
Big Lines
Figure out which end of the line is favored and then try and stick around that area. Don’t get caught too far away from where you want to be on the line!
Continue to track the wind shifts so you don’t get caught on the wrong side of the line. If the wind is all over the place I suggest hanging in the middle so you can make a last minute decision.
Lots of Boats
Remember the same basic rules apply with 20 boats or 100 boats…you want to get off on the favored side of the line with a good hole to leeward to you don’t have to tack for a while….carving a good hole on the starting line is what it’s all about….
With more boats and longer lines it is even more important to start on the favored end of the line. Make sure you get out to the race course early and do your homework!
Lots of boats = lots of traffic. Make sure all crew are looking for boats to prevent any collisions.
Protests
Try and sail clean and stay out of the protest room! If you find yourself in a protest make sure you have your rule book and a witness or two. Remember the protest room is always a 50/50 thing….if you fouled do your penalty and if you’re the protestor make sure it is really a valid protest.
On the Water Etiquette
Try and represent your country well in a proper seaman like fashion.
READ MORE
READ MORE
