NORTH SAILS BLOG
Tout
Events
Guides
News
People
Podcast
Sustainability
Tech & Innovation
Travel & Adventure

SNIPE TUNING GUIDE
Dear Snipe sailor:
Thank you for choosing North Sails for your Snipe. As Snipe sailors ourselves we truly share your enthusiasm for this great boat and the worldwide camaraderie that Snipe sailors share. We wish you many happy seasons of racing your boat and hope that whenever you have any questions about making your boat go fast that you will give us a call. We are always pushing to make our sails faster, longer lasting and easier to use and we always welcome your comments.
In this tuning guide we have tried to introduce a healthy dose of “why” we do certain things and what we are looking to accomplish with certain settings.You will find that the settings on your particular boat will vary a bit from the numbers given here. The important thing is to keep an open mind and a sensitive touch on the tiller. With a bit of practice and by following the principles outlined on the next few pages you should find yourself going faster and getting the best performance out of your boat.
Good Luck and Good Snipe Sailing!!
Equipment
Sailing is a very equipment intensive sport. To achieve the best possible results we must optimize our equipment to extent that the Snipe class rules allow. This involves taking a top to bottom look at all our equipment and taking a “no compromise” approach.
THE HULLMake sure that your hull is minimum weight (381 lbs.) and that it is as smooth as possible. Fill and fair all imperfections in the hull. Pay special attention to the area around the bailer.
Most top sailors sharpen the last 4-5’ of the chines and the intersection of the transom and hull in the back of the boat. This allows the water to clear away from the hull more smoothly and promotes planing quicker when the breeze is up.
THE MASTThe mast and its tuning are probably the single most important thing, to good consistent boat speed in a Snipe. Presently there are four “popular” masts in use,Sidewinder Gold, Sidewinder, Proctor and Persson. The Sidewinder Gold is the stiffest followed by the Sidewinder, Proctor and Persson.
It is important to know that no two masts are exactly the same and each boat will need a little bit of fine tuning to get it set up right. It is preferable to have adjustable spreaders (both length and angle) as you will generally want to make some adjustments as you get your boat up to speed.
On many masts especially the stiffer models, you may want to file down the forward part of the mast butt. This will help to induce pre-bend in the mast especially for light air.
CENTERBOARDThe class rules allow you to taper the edge of the boat to within 1” off the edge of the board. You should make sure your board is tapered on the front, bottomand aft edges. We suggest a “bullet” type shape for the leading edge and more of a “V” shape for the after edge of the board.
Be sure to rinse your board after sailing in saltwater and dry it completely. This will save it from becoming pitted with corrosion. You want to always wet sand the centerboard before sailing unless it is anodized.
You may want to consider cutting out some of the board in the top of the board where it stays inside the boat when down all the way. This makes the board lighter and less work for the crew to lift. Overweight boats can shave off a few pounds here by cutting away some of the top of the board. Check the SCIRA rulebook for limitations on how much board can be cut out.
LAYOUT OF CONTROLSThe layout of control lines is wide open on the Snipe. We suggest running most of the controls to the crew with the exception being the traveler. This allows the skipper to concentrate on driving especially at crowded mark roundings.
THE CREWCompetitive crew weights range from 275 lbs. to 325lbs. Generally you can sail lighter in flat water than in rough water. Heavier crews will want to set their boats up for more power (see below) where lighter crews can set up with somewhat flatter sails.
Basic Rig Set Up
With the mast down, we want to adjust our spreader length and angle. These two things determine how much the mast will bend and how much power will be in the sails, and how easy the boat will be to power up in light air and depower in heavy air. Before stepping the mast check the following items:
SPREADER LENGTHThis dimension, measured from the side of the mast to where the shroud intersects the spreader. For most boats this length is 16 ¾” (42.5 cm). The length of the spreader affects the side-to-side bend of the mast primarily. After stepping the mast and going sailing you will want to sight up the front side of the mast and make sureit is straight side to side from the deck to the hounds. This is very important: if the mast is bending to leeward in the middle, shorten the spreaders until it is straight. If the mast bows to windward in the middle make the spreaders longer until the mast is straight.
SPREADER ANGLEThe angle of the spreaders (tip to tip measurement) affects how much the maximum mast bend will be. Heavier crews will want a larger tip-to-tip measurement (stiffer mast) and lighter crews will want a smaller measurement (softer mast). The starting point for the adjustment on this setting is 29 1/4” (74 cm) measured from shroud to shroud with the spreaders pulled all the way back. In heavy air or with a heavier crew we move the spreaders forward so this measurement is 29 3/4” (76 cm). Check to make sure that the sweep aft on each spreader is the same so that the mast bends consistently from side to side.
FORESTAYCheck your forestay so that it is maximum allowable length (mast not touching back of partners). You will want to attacheda piece of lightweight shockcord 15” up the forestay and tie it to the bow or stem fitting to keep the forestay snug when the jib is up. This will keep the whisker pole from catching during jibes downwind.
MAST BUTT ANGLECheck the bottom of the mast and make sure it is cut off perfectly square. Any deviance from this can cause the mast to not develop pre-bend or develop too much. If you later find the mast does not develop enough pre-bend, file the front of the mast step casting to allow the mast to rock forward and bend more.
SHROUD ATTACHMENT LOCATIONSFor most boats position the shrouds at the maximum forward location of 70” aft of the stem. This will help the main go out further downwind and increase projected sail area. If you are having trouble developing enough power, move the shrouds back slightly which will make the mast somewhat stiffer. See figure 1.
JIB TACK LOCATIONPosition the jib tack at its maximum forward position 11” back from stem. This helps make the sail plan longer and opens up the slot between the main and jib. See figure 2.
To start attach a 25’ tape measure to your main halyard and pull all the way to the top and lock the halyard in position.
Download the PDF for a chart of the three different settings we use. All measure to the top of the transom. This is based on the Persson deck crown.
Note that it is very important to use a Holt Allen staggered hole style shroud adjuster or Sta-Masters to have fine enough increments on your shroud tensions.
Mast Rake Settings
Now sight up the backside of the mast and make sure the mast is perfectly straight side to side. If it is not you will need to remove shims from one side and add to the other to make the mast straight. The mast should be shimmed snugly side to side at the deck (yet still able to move freely fore and aft).
As a last step, we want to mark the “neutral” position of the mast. With the pusher/puller off and the mast taking its natural position make a mark on the side of the mast at the deck and a corresponding mark on the deck of the boat. Mark both sides of the mast so you can see it on both tacks. Now make marks on the deck 3/8”, 3/4” and 1” in front of neutral. If you feel you have an extra bendy mast (Sidewinder Jr.) make the aft mark 3/8” behind the neutral position.
Now you are set up to go sailing in moderate breeze. The first thing to do when you go sailing is to check the mast bend side to side. Sight up the front of the mast on both tacks and make sure the mast is straight from the deck to the hounds. If it sags to leeward shorten thespreaders. If it pops to windward lengthen them. This is critical to good boat speed.
Main Trim
With the boat hiked flat you want to have an absolutely neutral helm in the boat. You should just need finger tip pressure to hold the tiller. If the boat has lee helm rake the mast back. If it has weather helm rake the mast further forward.
Your North Snipe Main comes set up for a tack line to hold it in place at the mast. Using a low stretch small diameter line tie the tack of the sail so the edge of the sail is about 3/8” aft of the backside of the mast. Do not tie the tack right to the mast as this will keep the tack from rotating downwind and make the sail full in the bottom.
MAINSHEETThe mainsheet is the throttle on a Snipe and must be adjusted regularly to keep the boat going at top speed. The idea is to keep the top batten on the main parallel to the boom at all time and in under 7 knots of wind have the top telltale flying 70% of the time. If the telltale flies constantly the main is too loose. If it stalls all the time it is too tight. Trimming the main is a constant exercise in easing and trimming as the wind increases and eases.
In above 7-10 knots of wind the top telltale will fly all the time and the top batten should be trimmed parallel to the boom.
CUNNINGHAMThe main cunningham controls the fore and aft position of the draft in the sail. Keep it loose until you begin to be overpowered and then tighten it to open the leech of the main by moving the draft forward in the sail.
OUTHAULIn all but the very lightest conditions the outhaul should be tight when sailing upwind. Downwind let it off about 2-3” to make the bottom of the main more powerful and to open up the shelf foot in the bottom of the sail.
BOOM VANGThe boom vang is used to hold the boom down when the mainsheet is eased and to bend the mast and depower the main in a breeze. We leave the vang completely slack until we are hiking hard. Then we take the slack out of it so that when a puff hits we can ease the boom slightly without losing leech tension. As the breeze picks up more we will pull the mast back to the aft mark at the deck and trim the vang harder. This bends the mast and flattens the main and lets us play the mainsheet in the puffs without losing main leech or jib luff tension.
Downwind, you want to use the vang to keep the top batten parallel to the boom. Ease the vang substantially before reaching the weather mark to make sure you don’t break your mast in a breeze. In some conditions, mostly light air and flat water, the vang can be quite loose with the top batten outside of parallel, which allows you to sail a bit by the lee. In heavy air this makes the boat unstable and can result in the dreaded “death roll”.
TRAVELERIn most conditions, even heavy air, the trend lately is to keep the traveler in the middle of the boat. Make sure your mainsheet bridle is set up so the “y” of it goes slightly inside the boom. This will keep the boom centered in light air without putting too much tension on the leech of the main.
As the breeze builds and the boat gets overpowered you may find it helpful to drop traveler until the helm of the boat is neutral and the boat is flat.
Others will find vang sheeting preferable. With vang sheeting you tighten the vang to keep the boon down and the tension on the leech when the mainsheet is eased. Make sure to have the mast back at the aft mark when vang sheeting to keep the jib’s luff tight.
PUSHER/PULLER
The mast pusher/puller controls the bend in the lower part of the mast and has big effect on rig tension. In light air (crew inside the boat) we push the mast forward to the forward deck mark. This bends the mast and opens the leech of the main. It also sags the jib luff giving you more power for light air.
As soon as the crew and skipper are sitting on the windward side of the boat we move the mast back to the neutral mark to power up the sails. As the breeze builds, we will pull the mast back more at the deck to counteract the forces of the vang.
A note on soft vs. stiff masts: As the breeze really builds (15+ knots) softer mast owners will want to keep the mast back at the aft mark. This is because the forces of the vang cause the softer masts to really bend down low and the mast must be held back at the deck to keep the softer masts from over bending.
Stiffer mast owners will want to let the mast go back forward to the neutral mark when the breeze builds. The stiffer masts do not bend as much down low and need to be let back forward as the breeze builds to help depower the main.
Jib Trim
SHEETTo help judge the trim of the jib your North Snipe jib has a leech telltale sewn on it 1/3 of the way down the leech. The sail also comes with a trim stripe on the clew. To start set the jib lead so that the sheet is lined up with the trim lime on the clew of the jib. From there you will want to fine-tune the lead so that the telltales on the luff of the jib break evenly (watch through spreader window). Move the lead forward if the top luffs first. Move the lead back if the bottom luffs first.
After getting the lead position correct, we want to trim the jib in so that the telltale on the leech is just on the verge of stalling. You will need to adjust the tension on the jib sheet constantly as the wind builds and eases to keep the telltale just on the edge of stalling.
You may also want to make a mark on each side of the splash rail 15” out from the centerline of the boat. The foot of the jib will fall in this vicinity upwind and this mark can be used as a reference point for jib trim.
JIB CLOTHThe jib cloth tension should be tightened just enough so that there are always very slight wrinkles in the luff of the sail. In very heavy wind you will want to add tension and make the luff of the jib smooth to open the leech of the sail.
JIB HALYARDBe sure your jib halyard has at least 10-12” of throw in it. You will also want to make sure that the halyard is clearly marked at the up position so you can easily get the halyard set in the correct position at mark roundings.
Dead downwind let the halyard all the way off to project the jib as far to windward as possible. When reaching with the pole up you will find it fast to tighten the jib halyard 1/3 to 1/2 the way to tighten the luff of the sail and make the sail more powerful and easier to steer to.
Contact Us
Thank you for purchasing North Sails. This tuning guide was compiled with the help many National, North American and World Champion’s assistance and represents the latest thinking on sailing a Snipe fast.
Please give any member of the North Snipe team a call if you have any questions. We look forward to helping you get the most from your boat. Good luck!
READ MORE
READ MORE
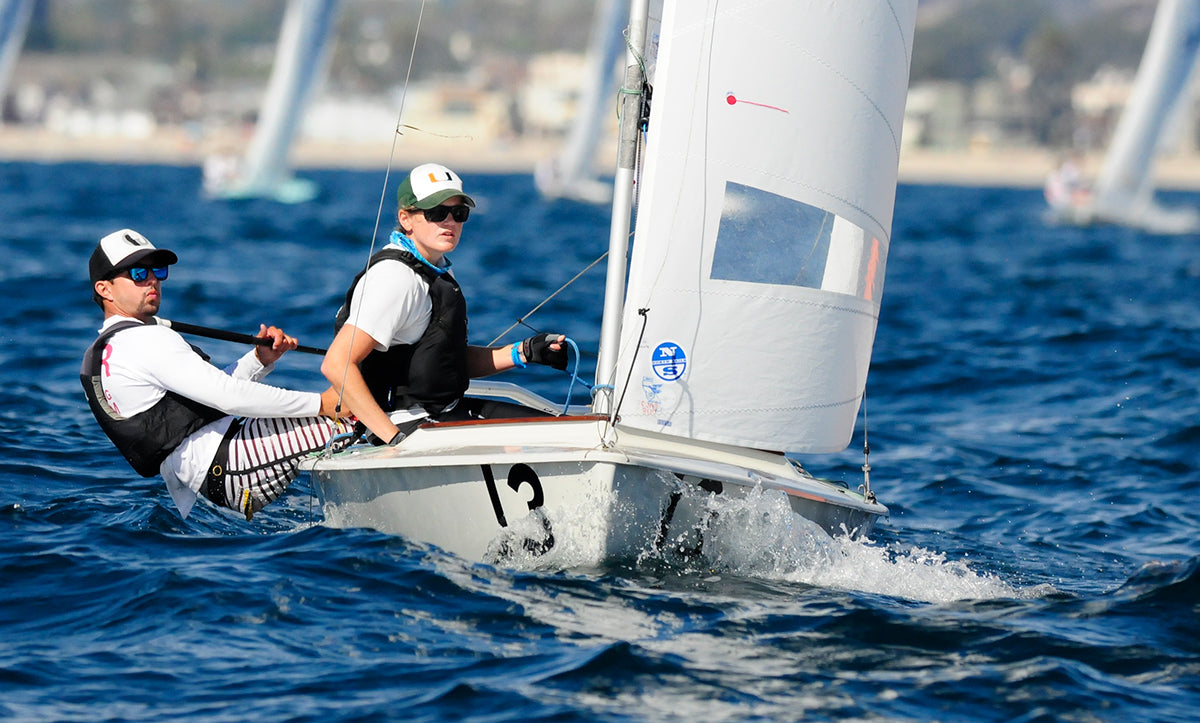
VIDEO: SNIPE TIPS WITH RAUL RIOS
SNIPE TIPS FROM RAUL RIOS
Video-interview after winning the 2015 Nationals at Mission Bay Yacht Club
TUNING NUMBERS:
PREPARATION:
COMMUNICATION CREW-SKIPPER:
NORTH SAILS:
READ MORE
READ MORE
